How does the OCI passport service guide work for Toronto applicants?
Step-by-step OCI passport service guide for Toronto applicants: Toronto-jurisdiction checklist, photo rules, online submission steps, decision points, and.


This OCI passport service guide is written for Canadian residents and organisers in the Toronto jurisdiction who need OCI reissue or miscellaneous OCI services (name update, passport link, signature update). It presents a numbered workflow you can print and follow, exact stop points where you must verify originals, references to authoritative checklists, and clear criteria to choose a DIY filing or agency-assisted support.
Who this OCI passport service guide applies to in the Toronto jurisdiction
Typical requests covered by this guide include reissue of an OCI card after getting a new passport, updating an OCI with a new passport number, signature or name-change requests under miscellaneous services, and status matters for previously held Indian passport holders. For the Toronto jurisdiction the Consulate General of India / BLS checklist is the reference for required documents, and the official OCI portal hosts the online forms and submission interface. Consult the Toronto checklist early and print the page that matches your service type.
Authoritative references to confirm requirements:
- Consulate General of India, Toronto checklist (PDF)
- Documents Required for OCI Miscellaneous Services (helpoci summary)
When to use this guide
- If you hold or previously held an Indian passport and need to link a new Canadian passport to your existing OCI record.
- If your OCI requires reissuance after passport renewal, or you need miscellaneous services such as name or signature updates.
- If you are organising documents for family members, seniors, or a group Jatha and need a single printable checklist to coordinate multiple applicants.
Step 1: Gather documents — the Toronto jurisdiction checklist (printable pack)
Stop and collect these items before you open the online form. The Toronto jurisdiction checklist published by the Consulate lists required originals and copies for each service type; use it to confirm documents for your exact request.
- Current passport (original and clear photocopy): identity and visa pages, plus any previous Canadian passports if relevant.
- Previous Indian passport (if applicable): original and copy, or a clear record of the passport number and expiry when reissue is required.
- OCI card (if reissuing): original OCI booklet or card and a copy.
- Proof of Canadian residence: driver’s licence, provincial ID, or utility bill that matches the application details.
- Civil documents for name changes: marriage certificate, court order, or statutory declaration where the name differs.
- Renunciation or surrender certificate: where the applicant renounced Indian citizenship; required if the old Indian passport indicates renunciation or surrender.
- One passport photo and digital image: follow the OCI photo rules exactly (see Step 2).
Before you proceed to the online form, verify every original and certified copy. The Toronto checklist is the authoritative source for which originals must be presented or couriered.
Step 2: Photo, certified copy and formatting rules you must follow
OCI applications get delayed by photo or copy errors. Use this stop point as a strict quality gate before upload.
OCI photo specifications
- Use a recent, neutral-background photo that meets standard Canadian passport rules; avoid shadows, heavy retouching, or uneven lighting. Head coverings for religious reasons are acceptable if facial features are fully visible.
- Prepare both a print photo and a high-resolution JPEG for upload. Check the Consulate checklist for any pixel or file-size limits before saving.
How to certify copies in Canada
Certified true copies are often requested. In Canada a notary public, commissioner of oaths, or lawyer can certify copies; check the Toronto checklist for which documents must be certified. Keep certified copies as a backup if you plan to courier originals.
File naming, resolution and upload tips
- Name files clearly, for example: Singh_Jasbir_Passport.jpg, and avoid special characters.
- Scan certificates at 300 dpi and save as PDF where allowed; ensure signatures and stamps are legible.
- Do not submit until every file matches the portal’s format rules. Re-submissions cause delays and may trigger additional checks.
For a concise list of frequent photo and document errors see the summarised checklist from specialist sources linked above.
Step 3: Complete the online OCI submission workflow
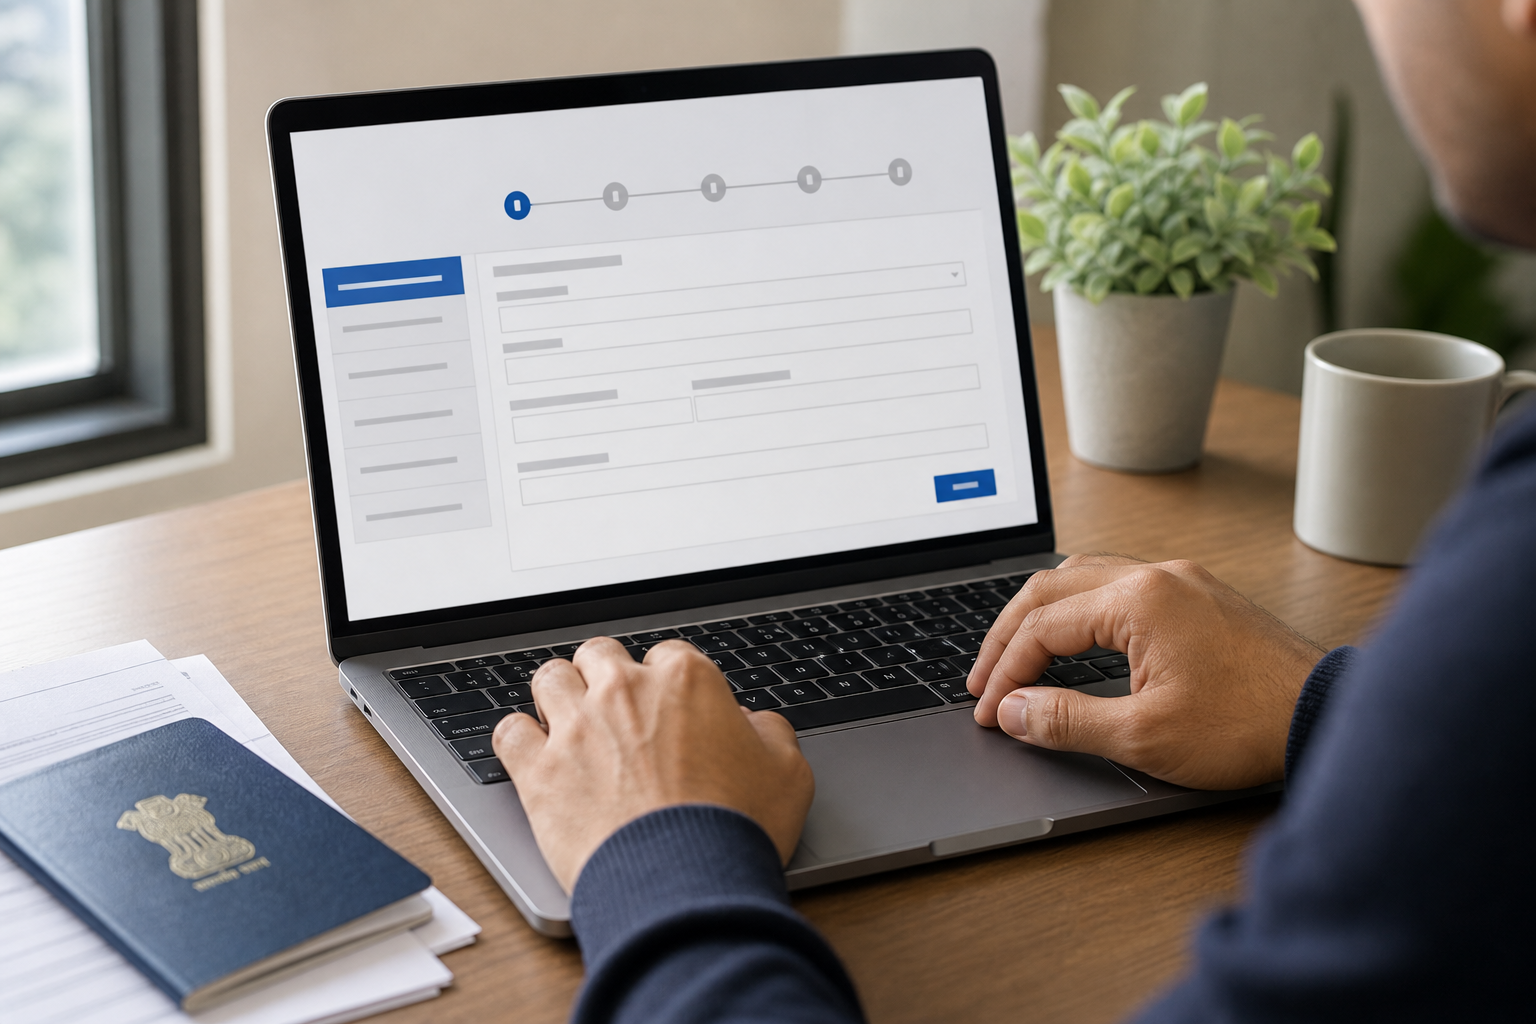
Prepare all uploads before you begin. The online submission flow runs on the official OCI portal. The usual steps are: create an account, select the correct service type (reissue or miscellaneous), complete applicant details, upload documents in the required sequence, pay the application fee, and print the application reference and payment receipt.
Save and print the confirmation and the application reference number. If the portal instructs you to submit originals or visit a designated service centre, schedule that appointment or arrange a courier as directed. Keep receipts and the reference number for tracking and enquiries.
What to expect on payment and submission
- Payment is typically online by card; keep the receipt and the application reference number for tracking.
- If an in-person biometric appointment is required you must present originals and the printed application receipt.
- Missing documents may trigger an email request from the Consulate or service centre; respond promptly with clear scans of the requested item.
Step 4: Local submission and appointment logistics for Toronto and Mississauga applicants
The Toronto jurisdiction uses the Consulate and designated service centres for document drop-off, biometrics and courier returns. If the portal instructs you to submit originals in person or by courier, bring the printed application reference, payment receipt, originals and certified copies, and a government photo ID.
In-person checklist
- Printed application reference and payment receipt.
- All originals and certified copies listed in Step 1.
- Return courier envelope and contact information for tracking.
- Proof of appointment if the centre requires scheduled visits.
Before you leave home, perform a final verification of identity details, names and dates to avoid mismatches at the counter. Use the Consulate's Toronto checklist to confirm exactly which originals they require in person.
Decision checklist: when to file yourself and when to use agency assistance
Decide using practical triggers rather than cost alone. If none of the triggers apply you can often complete the online application yourself.
- Choose an agent if you have a lost or missing Indian passport with no clear record of the passport number, or when renunciation or surrender documentation is incomplete.
- Use an agent when name changes are complex (multiple documents, translations, or court orders) and you prefer an in-person check to reduce rejection risk.
- Consider agency support for elderly applicants, mobility limitations, or when you must coordinate many family members for a group Jatha submission.
- Hire help if you want the convenience of local document drop-off, certified photos, and a pre-submission audit to reduce re-submission risk.
Singh Travel & Tours Canada lists passport, OCI and passport photo services on its site and notes TICO and IATA accreditation along with 24/7 support; contact details and service availability are on the agency website.
Common mistakes, stop points and how to avoid delays

Stop and confirm these items before upload or an in-person visit to avoid most rejections.
- Mismatched name spellings across documents. Verify exact spellings on passport, OCI records and civil certificates.
- Poor photo quality or incorrect digital format, which is a frequent rejection cause.
- Missing renunciation or surrender certificates when the applicant formerly held Indian citizenship.
- Unsigned forms or missing handwritten signatures where the portal requires a printed declaration.
- Wrong file types or low-resolution scans; follow the Consulate checklist for scanning rules.
Refer to the specialist checklist linked earlier for examples of common errors and how applicants typically correct them before resubmission.
Printable final checklist and how Singh Travel can help with document services
One-page printable checklist (carry this to an appointment):
- Current passport original and copy
- Previous Indian passport original or details
- OCI card original and copy (if reissue)
- Proof of Canadian residence (driver’s licence or utility bill)
- Marriage certificate or court order for name change (if applicable)
- Renunciation or surrender certificate (if applicable)
- One printed passport photo and digital file (meeting OCI photo rules)
- Printed OCI application reference and payment receipt
If you would like local help with photos, certified copies, or a pre-submission document audit, Singh Travel & Tours Canada offers passport and OCI support and accepts appointments at its Mississauga office; see the agency website for contact details and to confirm in-person service availability.
Frequently asked questions
What documents do I need to reissue my OCI card in the Toronto jurisdiction?
Gather your current Canadian passport (original and copy), previous Indian passport or its details, original OCI card (if reissuing), proof of Canadian residence, and any civil documents for name changes. Confirm the exact list against the Toronto Consulate checklist before submission.
How do I start an OCI miscellaneous services application on the official portal?
Create an account on the official OCI online portal, choose the miscellaneous service type that matches your need, complete the form, upload files in the required order, pay online, and print the application reference. Follow the portal prompts for any required in-person step or service-centre submission.
What are the correct passport photo specifications for OCI submissions from Canada?
Photos must meet standard passport-style rules: recent, neutral background, correct head size and no heavy editing. Save a high-resolution JPEG for upload and bring a printed photo for in-person submission. Check the Consulate checklist for exact pixel or file-size limits.
When is it better to use an agency like Singh Travel for OCI and passport services?
Use an agency when documents are incomplete, when applicants are elderly or need mobility help, when name changes are complex, or when you prefer a pre-submission audit to reduce rejection risk. Singh Travel provides local appointment support in Mississauga for document checks and filing assistance.
How can I check the status of my OCI application after I submit?
Use the application reference number printed after payment to track status on the official OCI portal. If your application was filed through a service centre, that centre may provide courier tracking or status updates; keep receipts and the reference number handy for enquiries.
Would you like help preparing your documents or booking a local appointment with a passport and OCI document specialist?